Viva Las Vengeance 3D Model
Introduction
Hey, friend! Atlas here, leaving an update of a new 3D model I finished earlier today. This one is from my favorite band, Panic! At The Disco, and their latest album, Viva Las Vengeance. If you’d like to see more projects like this, be sure to check out the Just For Fun 3D modeling category.
Side Note: Throughout this article, I use the word “mesh” quite a few times. To avoid confusion, just know that I use mesh and 3D model synonymously with one another.
Like Panic! Once Said, “Oh, How It’s Been So Long!”
 |
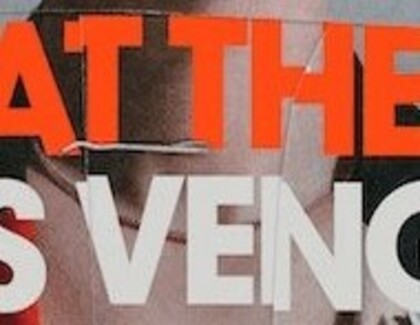
| The album cover for Viva Las Vengeance |
My, oh my! Quite a time has passed since I last did an article on my 3D modeling progress. But fear not, true believer; as the wait is now over! Since I last wrote one of these posts, Panic! At The Disco dropped two total tracks off of Viva Las Vengeance (and they’re releasing another one next week!). As Ace and Orcinus might expect from my enthusiasm, I’ve been streaming them non-stop. But instead of waiting for the release date to roll around, I decided I’d brush up on my Blender skills by modeling the text on the front of the album cover.
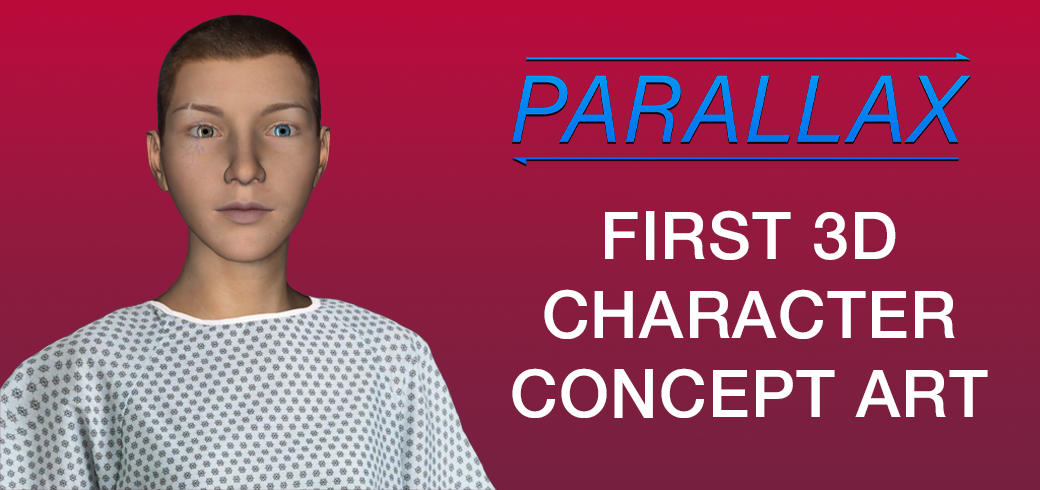
I’d love to model the singer, of course, but in order to do that, I’d need reference images from almost every angle. That will definitely be a bit of a challenge when moving into character design for Parallax (Be sure to check out this article on the first 3D character design for our game).
Before Getting Started
Before I started modeling the album, I made sure to scale up the reference image inside of Blender. When you’re working in a digital environment, it can be tricky to get an understanding of how large your item would look in the real world (this is a challenge people face when trying to 3D print objects). The larger the image is, the closer I can hone in on the details. I scaled it up to approximately 4000 by 4000 pixels.
 |
| Rotating an object from the top right |
In addition, I left the origin point for the reference image at the center. Every object has an origin point that tells Blender where this object is placed in relation to the X, Y, and Z axes. For example, if I were to set the origin point to the top right corner of the object, and then tried to rotate it, it would only rotate around that point (as seen to the right). Fortunately, the origin point of an object doesn’t need to directly be touching the object. You can use the 3D cursor to mix and match the relative location of this point, which we’ll dive deeper into later on.
Lastly, to prevent myself from accidentally moving the image, I used the object menu to deactivate the selectable property.
The Vision
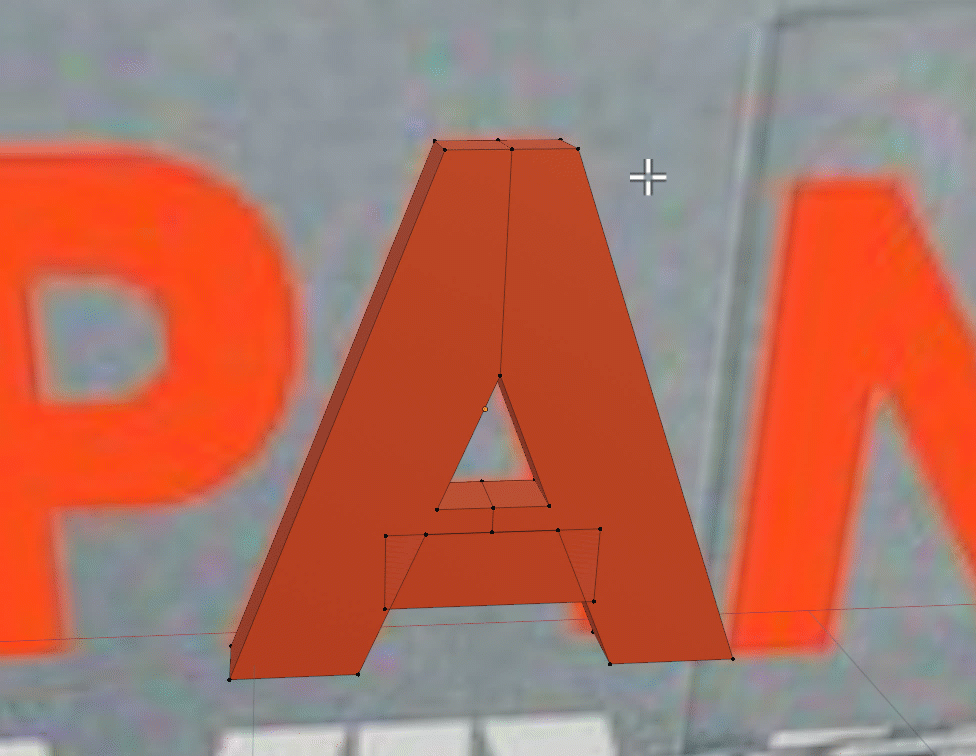
Among the 32 letters in the composition, quite a few have holes going through them (such as P, A, D, etc.). Making holes in meshes is something I’d struggled with in the past. The most common method people suggest is creating another object in the shape of that hole, and then linking it to the original object in a way that it will “subtract” that matter from the letter. However, this wouldn’t actually change the original object, which is what I wanted to do. I aimed to directly cut a hole that would bridge together both sides. But how did I want it to look? Well, it took a bit of envisioning.
 |
| Me in front of my computer screen |
I started by placing a block in the scene and moving it across the X and Z axes to line up with the height and width of the letter P. Additionally, I made the cube thinner on the Y axis. I duplicated this object, and then hid the original one. This way, each time I created a new letter, I was working with a consistent template.
Bridges and Edges and Loops, Oh My!
 |
| Beveling two edges of the cube |
I built off of this template by moving its its edges along the X and Z axes to form a blocky-looking P. To round it out, I beveled the top right and bottom right edges (shortcut: CTRL+b). After that, I researched other hole-punching options for my project. I eventually stumbled upon the last tool that I thought I’d ever use: the knife tool.
The reason I’d avoided the knife tool many times in the past is simply because I found it confusing. However, there were definitely other tools I felt similarly about. Instead, I accepted my fate an decided to try my hand at cutting a hole in my mesh.
To my surprise, it was easier than I expected. With the tool selected, I marked 4 vertices that connected in a square. When I hit Enter to finalize the cut, I noticed that the other vertices on the cube automatically created these edges connecting to the new vertices. I repeated this process for the back of the mesh.
 |
| Using the Knife Tool to cut a hole in an object |
I found this method in a 7-year-old blog post on StackExchange from someone who had the same question as me. One user responded by suggesting that they use the Bridge Edge Loops property.
The Bridge Edge Loops property is exactly how it sounds: it takes two different closed-off shapes and bridges more edges that connect the two. I did this by selecting both faces and then going to Edge > Bridge Edge Loops. Essentially what this does is create a tunnel through the shape that I can then tweak to my desire.
Edges vs. Faces
 |
| First two letters have a hole punched through them |
I’d like to point out the difference between edges and faces in the 3D environment. Edges can exist without a face in between them, but faces need at least 3 connected edges to make a face (I referenced this method in the article about the Scaled and Icy 3D model). The edges surrounding this face become known as an “edge loop,” hence the name of this feature. What the knife tool allowed me to do was create more edges within the single face that connected to the edges we see around the sides of the cube. Using the makeshift template I mentioned earlier, I repeated this process for other letters that needed a hole punched through them.
Distorted Letters
Since there are duplicate letters, I was able to copy and paste an already-finished letter, and move it along the X and Z axes to line up with the next one. However, something that sticks out about the album cover is the way that the composition appears to be “stapled together,” making some of the letters look distorted. So, even with reusable letters, I still had to build off of the pre-existing design to match this stapled appearance.
 |
 |
| Letters are distorted from the stapled appearance | Moving the vertex to align to the letters on the album |
I started this by grabbing individual vertexes and moving them to line up with the album’s design. The problem I was running into, however, was keeping the edges between these vertexes even. In other words, if two vertexes are located at different locations on the Y axis, but are the same on the X-axis, then they’ll form a straight line, right? Well, when you move these vertexes around, you run the risk of messing up that perfectly even line.
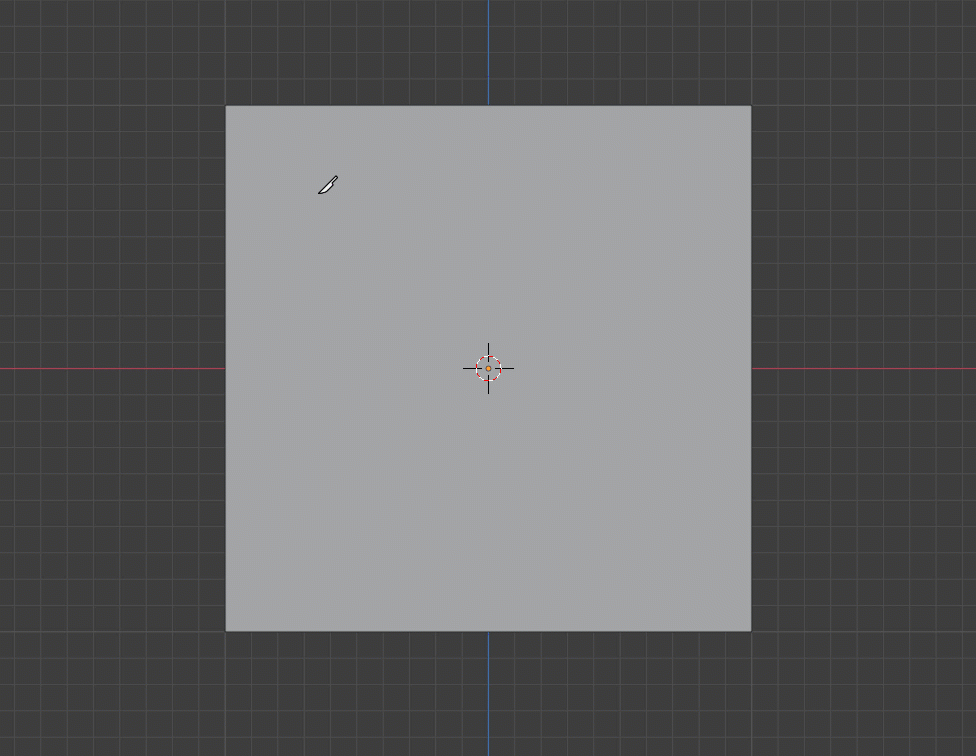
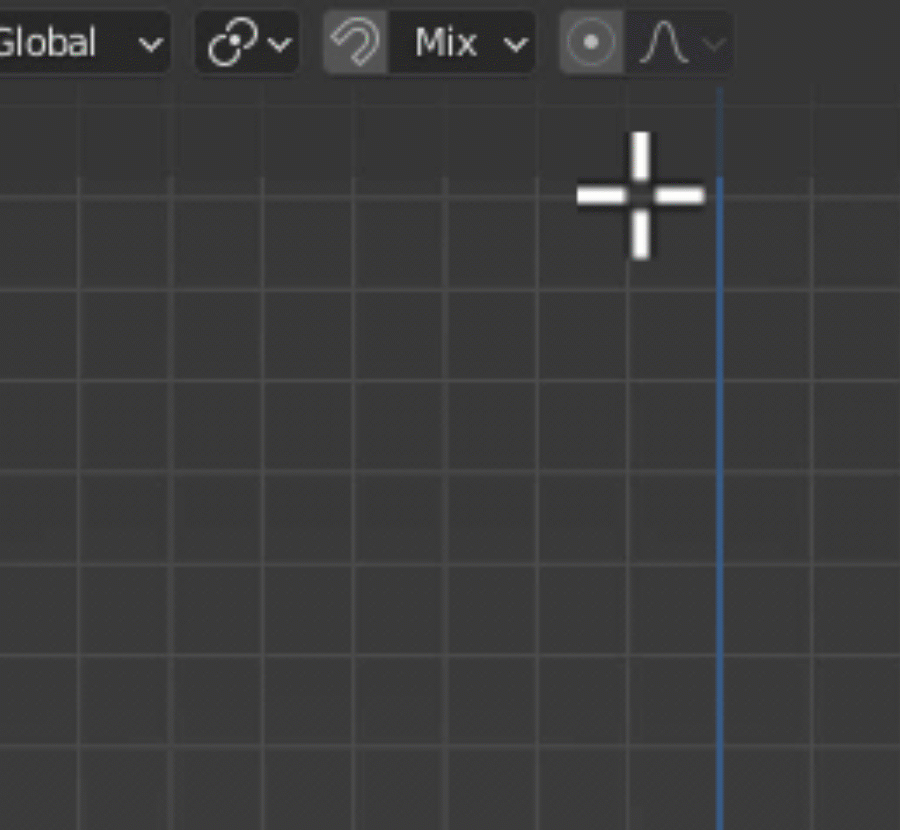
The Curse of the 3D Cursor
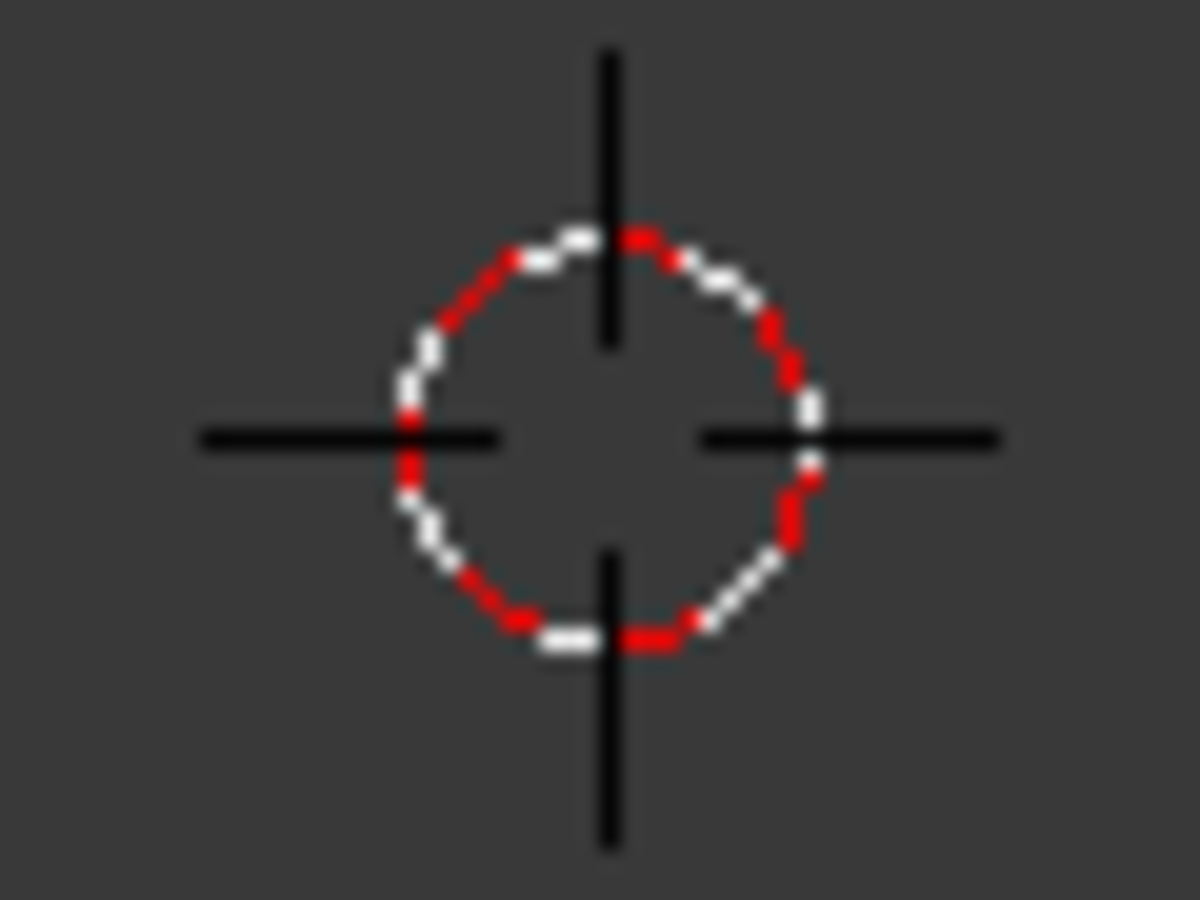 |
| Close-up of Blender’s 3D cursor |
After doing a little research, I figured out which tool would help me move vertexes precisely: the 3D cursor. Just like the knife tool, I despised using the 3D cursor for anything. When you create a new project in Blender, the 3D cursor will always be placed at the World Origin, which is (0,0,0). But if you moved it around (which often happens by mistake), and then tried to place a new object in the scene, that object wouldn’t be placed at the world origin, but rather, at the origin of the 3D cursor. This made organizing your workspace very tedious. But, after playing around with the tools for a while, I realized that I could actually use the curse of this cursor to my advantage. Allow me to explain.
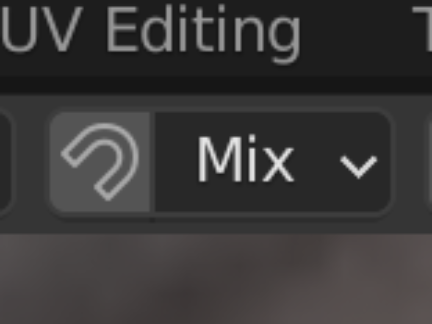
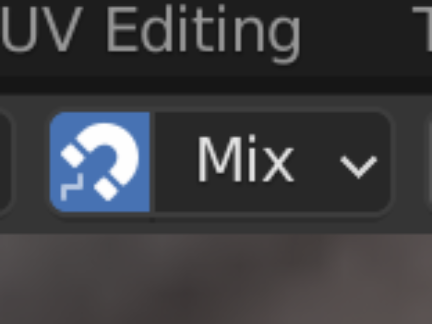
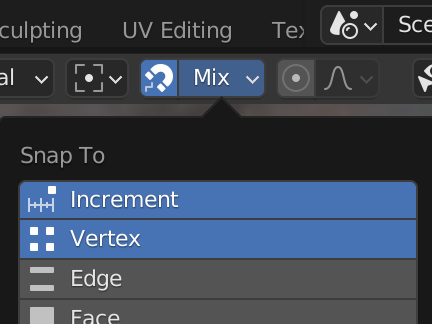
Snapping
In the top-middle section of the Blender menu, there’s a little tool called Snapping. As you might expect, snapping will guide the movement of objects in a 3D environment by clicking them into place at significant positions. I clicked the button to enable snapping, and then released the drop-down menu which gave me a list of variables I could snap to. Increments is automatically selected, but since I was working with vertices, I selected that, too (hold shift to select multiple).
 |
 |
 |
| Snapping Tool | Snapping Tool when Selected | Increment and Vertex variables selected |
To break it down, I’m going to name two vertices: Vertex A and Vertex B. My goal is to line up Vertex B with Vertex A on the X axis. I started by selecting the 3D cursor tool. As mentioned before, anywhere you click on the screen will move the cursor to the specified position. With snapping activated, I can click on Vertex A, and move the cursor to that exact position. To keep the cursor from moving again, I switch back to the regular move tool. Now, if I select the a vertex along the x-axis (G to move + x to lock to the axis), Vertex B is moved to have the same vertical alignment as Vertex A.
 |
| Example of the process explained above |
The Most Difficult Letter
After I was able to distort most of the letters in the top row, I found the one letter that I struggled with the most was S. I went through at least 7 different models of the letter S, trying to bevel its curves while also maintaining the same width and height as the other letters. Eventually, I realized I had to try something new. That’s where the text tool came in. Although we’re in a 3D environment, the text tool doesn’t actually make the specified text 3D. It just creates a flat surface rather than a letter that protrudes along all 3 axes. However, using the Bridge Edge Loops method earlier, I found a way around this problem.
 |
| If engineering something one way doesn’t work, then try another! |
I started by placing text in the composition, and changed the sample to just the letter S (hit tab to edit text). Keep in mind, that this text is not technically an object. In order to rasterize it into an object, I had to right click on it, and then choose Convert To > Mesh. This turned my flat piece of text into a mesh that I could edit like any other object. When I did this, I realized that the front of the mesh had a lot of triangle-based faces, which isn’t something I’m particularly skilled in, so it made sense why trying to use a cube didn’t work as well for me.
Still, though, when I tried to make the letter 3D, by extruding it out on the y axis, it didn’t work. Because of this, I had to duplicate the object, and move it along the y-axis. I then grouped the two separate objects together so that they were one. Lastly, I selected all the surrounding edges between the two S’s and bridged the edge loops, which resulted in a now-3D letter that I was able to size accordingly to the album’s design.
 |
 |
| Creating the S and then converting it to a mesh | Creating a copy to move along the Y axis |
Color Me In!
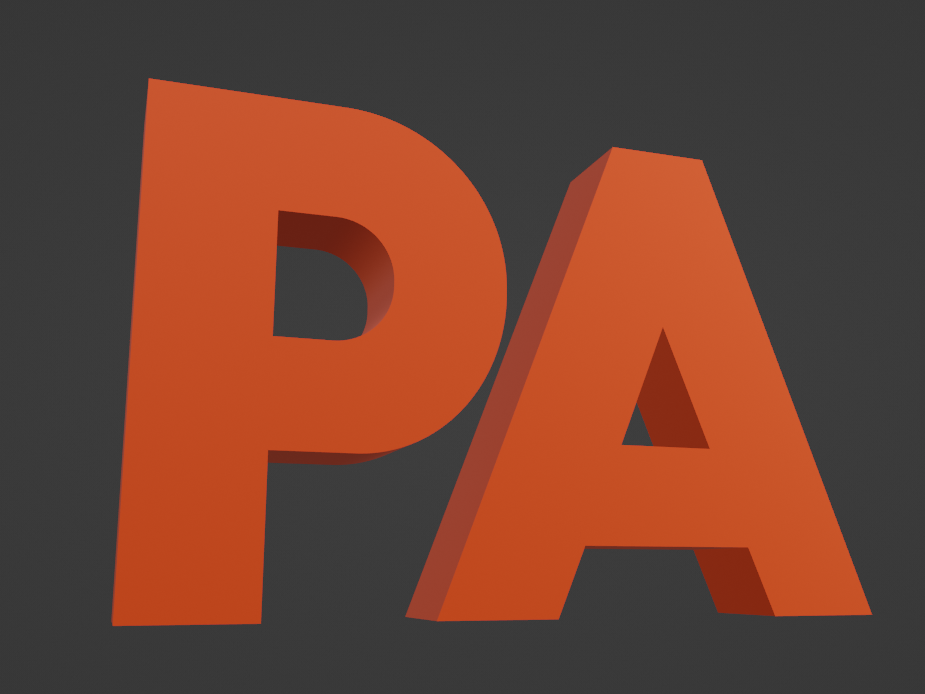
After 3 days of editing and reediting, I finally finished the model. The last thing I wanted to do was just color it in. I created a new texture for both rows, one that was just the color white for the bottom row, and the other that was the shade of orange used in the top row. I also increased the metallic property on both textures so that they looked shinier.
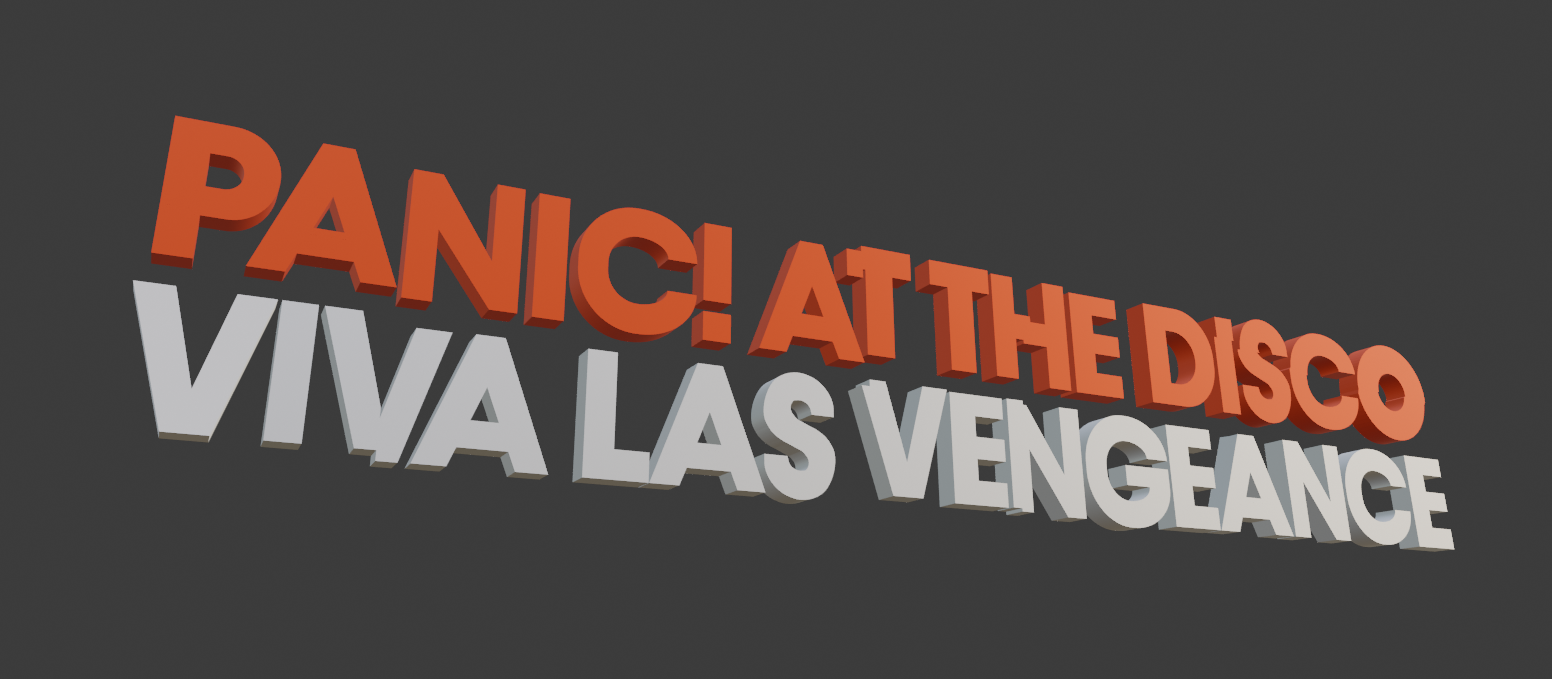  |
| The final product |
Reflection
 |
| Ace and Orcinus hyping me up whenever I make a new model |
Well, folks, this was a rather lengthy article, if I do say so myself. I’m incredibly proud of the final product, though, because I stepped outside of my comfort zone when it came to learning how to use the knife tool and the 3D cursor.
Going forward, I aim to improve my texturing skills, as most of the textures I construct are pretty makeshift and aren’t suited for animate objects (such as characters) the way they are for inanimate objects. When I start learning more about 3D character design, I’ll be able to use the aforementioned methods to create more precise meshes.
I’m absolutely thrilled for Viva Las Vengeance. Not only will the band drop new music videos, but I can finally stream the entirety of the album while I’m working. So Ace, if you’re reading this, you better grab some earplugs! ‘Cause now I have new random lyrics to sing whenever we’re on the phone!
 |
 |
 |
| Actual footage of me reinacting the music video for Ace and Orcinus | ||
Thanks for Reading!
~ Atlas from Atomic Rush Studios
“I don’t wanna be a diva,
I just wanna be free…”